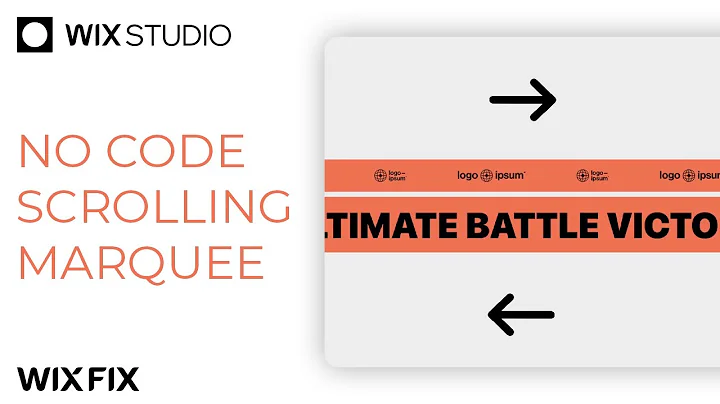
Wix Studio Marquee Effect (No Code) | Wix Fix
Wix Studio Marquee Effect (No Code) | Wix Fix
Hey there, design enthusiasts! Welcome back to another insightful read on NewForm, the place where creativity and tech meet to help you elevate your design skills. In today's post, we're diving into the world of Wix Studio to learn how to create a captivating marquee tool that adds dynamic movement to any webpage. Let's get started!
What is a Marquee Tool?
A marquee tool is essentially a scrolling or moving piece of text or graphic that can really bring life to your website. Imagine a banner that proclaims "Free Shipping" or displays your top client logos, continuously scrolling without user interaction—it’s eye-catching and incredibly useful for highlighting key information.
Getting Started with Wix Studio
If you're not familiar with Wix Studio yet, don’t worry! It’s a powerful platform that allows for customizable design without requiring an intricate web programming background. Perfect for creatives looking to expand their web design abilities without the fuss of coding. And trust me, you'll love how this tool empowers you to work in an efficient, effective, and aesthetically pleasing manner.
Step-by-Step: Creating a Marquee Tool
Follow along as we recreate the simple yet effective marquee tool in Wix Studio, step by step:
Step 1: Add a Text Element
First, open up your project in Wix Studio and add a text element. Let's choose a "Heading 6" for this example, though you can select any text size that suits your design. Enter some catchy text, like "Free Shipping" and copy-paste it to repeat across the element. The aim is to stretch it to 100% width, ensuring it traverses the entire screen.
Step 2: Adjust the Text
Perfect, you've got your text on the screen! Now let’s make it visually appealing. Reduce the font size so that it fits in one continuous line across your site. It's crucial to maintain the repetitiveness of the text so that it creates that seamless, scrolling effect.
Step 3: Add a Scrolling Interaction
Time to bring it to life! Head over to the "Interactions" tab. Select "Loop," and opt for a "Cross Interaction." This will start the animation, but it can be tweaked to suit your style.
Step 4: Customize the Animation
If you're like me and prefer the scroll to move left, switch the direction from "right" to "left" under the animation settings. Also, slow it down a bit by extending the duration to 10 seconds; this ensures a smoother delivery.
Step 5: Eliminate Gaps
Annoyed by that unsightly gap? Say no more! Duplicate your text element by copying and pasting it. Then, while keeping it at the same spot, dock it to the left. Set the margins to 100% so that it aligns nicely with the original element, giving that seamless loop effect.
Step 6: Hide Overflow Content
Ensure the section's overflow content is set from "Show" to "Hide." This prevents any unwanted scrolling issues on your live webpage.
Step 7: Beyond Text—Logos and Images
Feeling adventurous? You can apply similar interactions to repeaters for logos or images. Just follow the same steps!
Conclusion
And just like that, you've added a snazzy marquee effect to your website, ensuring your visitors are engaged right from the first click! Whether you choose to display logos, important text, or something uniquely yours, this tool is versatile and visually appealing.
At NewForm, we’re all about honing your design skills, helping you find opportunities in the marketplace, and connecting you with industry leaders. We offer monthly web design challenges with cash prizes, weekly skill-building events, and exclusive monthly guest sessions featuring top professionals in web design. Here, you get to learn directly from the best, access invaluable resources, and build cool things online.
So, if you’re ready to take your skills to new heights and join a community of like-minded creatives, now’s the time! Dive deeper into the world of web design and join NewForm for ongoing tutorials, events, and design opportunities. Let’s keep pushing those creative boundaries!
Until next time, keep designing with passion!


