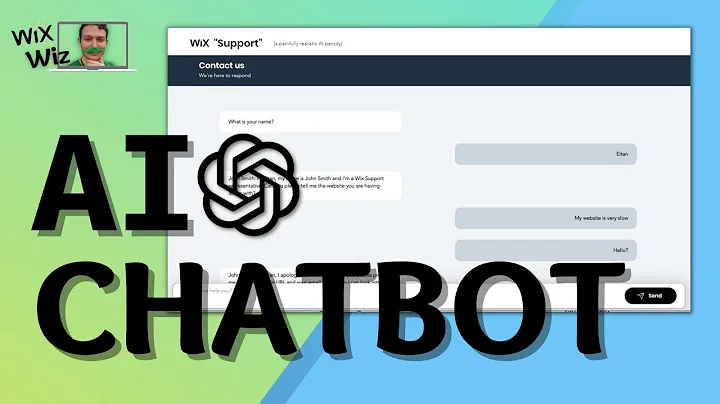
How To Create an AI Chatbot with OpenAI and Wix
How To Create an AI Chatbot with OpenAI and Wix
Hey there, fellow tech enthusiasts and creative minds! Whether you're a web design guru or a coding newbie, I bet you've thought about diving into the world of AI at least once. Well, guess what? Today, we're going to take that plunge together—and it's going to be a blast!
Ever wanted to create your own AI-driven chatbot that can hold natural conversations with your website visitors? Well, you're in luck! In this post, we'll guide you step-by-step on how to set up an AI chatbot using Wix and OpenAI's Chat GPT-3. Plus, we've got some sneaky coding tips and design tricks up our sleeve. Ready to embark on this chatbot adventure? Let’s do it!
We’ll embark on this journey by utilizing Wix to host our chatbot and OpenAI's cutting-edge technology, GPT-3, to power the AI brain. We'll be recreating something like the iconic Wix support chat—a virtual assistant that's both witty and helpful.
Setting up OpenAI for Your Chatbot
First things first, you'll need to head over to the OpenAI website and sign up if you haven't already. They’ll hook you up with some free credits to get started. Once you're in, head over to the API section to create your secret key. Think of this as the golden ticket that gives your website access to OpenAI's genius.
Pro Tip: Be sure to store that secret key somewhere safe—once you navigate away from this page, you won’t be able to access it again!
With key in hand, we’ll waltz over to Wix to employ its Secret Manager feature. Paste your API key here, and voila, you've just laid down the foundation for your AI wizardry.
Building the Backend for Your Chatbot
Now, let’s get our hands dirty with some good ol’ JavaScript in Wix’s backend. Don’t worry—it’s simpler than it sounds, and we’re here to guide you through.
1. Define Your API Endpoint: OpenAI’s documentation will be your guide here. With the right endpoint in view, you’ll specify the method ("POST") and ensure your request is impeccably formed with headers and a snazzy JSON body.
2. Craft the Core Functionality: Since we’re making calls to the OpenAI API, our functions will be asynchronous. This ensures that as your AI brain thinks, your site remains agile and responsive.
3. Create Your Prompt Construct: Time to teach your bot its manners! You'll define how it responds based on user inputs. You set the tone, the length of responses, and any other quirks your chatbot might have.
4. Construct a Conversational Flow: Here's where the magic happens. Pass both previous questions and responses to maintain context in conversations. Now your chatbot remembers, or at least pretends to, like a real mensch.
Frontend Fun: Designing Your Chat Interface
With logic in place, it’s time to design a slick interface for your soon-to-be world-famous chatbot. Enter the Wix Editor—your playground for all things aesthetic.
Layout Essentials
To keep things neat and lively:
- Input Field: Where users type their burning questions.
- Send Button: To initiate the wisdom-sharing from your chatbot.
- Loading Animation: Highlight the cognitive strain your AI is under before it drops knowledge.
- Chat Display (Repeater): Log the conversation flow effortlessly and keep the experience seamless.
CSS Styling Advice
Ensure everything is visually appealing! The initial default styles may not fit your vibe, so play around with color schemes, typography, and padding. Pay attention to responsive design principles—no one likes a chatbox that looks weird on mobile.
Putting It All Together
Now to test your masterpiece! Switch to preview mode and fire off some questions to your chatbot. Feeling like it's a bit robotic? Adjust the temperature settings in your API call to spice things up a bit—this little adjustment can make your chatbot more creative or focused.
What's Next?
You've just created a pretty nifty AI chatbot! But remember, the real magic happens when you start experimenting—tweak responses, alter prompts, and dive deeper into the intricacies of AI models. The sky's the limit!
Final Thoughts
So, there you have it—a fully functional, AI-powered chatbot ready to take your digital interactions to the next level. The fun doesn't have to stop here, though! AI is an evolving field with endless possibilities—who knows where your creative tinkering might lead?
Join Our Growing Community
At NewForm, we’re all about honing your design skills, helping you find opportunities in the marketplace, and connecting you with industry leaders. We offer monthly web design challenges with cash prizes, weekly skill-building events, and exclusive monthly guest sessions featuring top professionals in web design. Here, you get to learn directly from the best, access invaluable resources, and build cool things online.
So, if you’re ready to take your skills to new heights and join a community of like-minded creatives, now’s the time! Dive into the world of design and AI, and make sure you join NewForm afterward for more amazing opportunities. Happy coding!
Enjoy the journey of creating amazing AI chatbots! And remember, we're all learning every day—don’t hesitate to tweak, ask questions, and iterate. Cheers to your next masterpiece! 🎉


