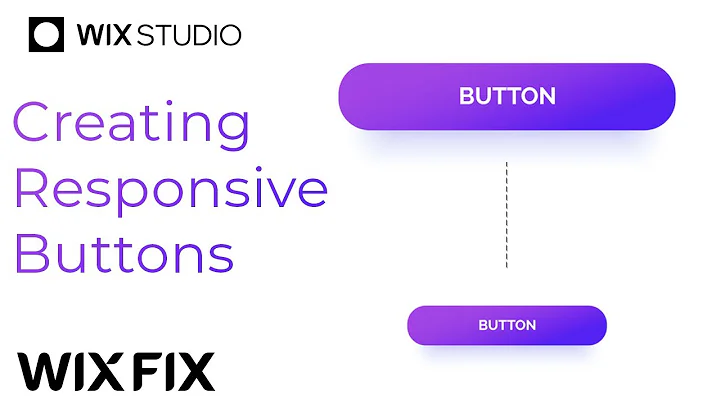
Custom Responsive Buttons in Wix Studio | Wix Fix
Custom Responsive Buttons in Wix Studio | Wix Fix
Welcome back to the thrilling world of web design with Wix Studio! If you're someone who loves creating visually stunning and highly functional websites, you're going to enjoy today's journey. My name is Ryan, and I’m here to show you some wicked tricks (pun intended) about making custom responsive buttons in Wix Studio. So strap in, because we’re about to dive deep into the realm of web design!
Understanding Wix Studio Buttons
Before we get our hands dirty, let's take a moment to understand what we're working with. In Wix Studio, buttons have a bit of a personality, and sometimes they can be a tad quirky. Take, for example, when you drop a button onto your page: by default, scaling properties are turned on. This is generally awesome because your text size will grow or shrink as per the user's screen size, indicated by the pixel icon with an asterisk next to it. But here lies the rub—there’s no way to set minimum and maximum values for the font size. Yikes!
The Scaling Dilemma
On smaller screens, it's not so bad—your button looks neat, albeit a bit small. But when you switch to larger screens, the button swells up like a balloon at a toddler’s birthday party! A common suggestion might be to enable advanced sizing and set a maximum width to your button. Sure, this works wonders for the button itself, but the text? Not so much. It continues to expand until it wraps around messily on ultra-large displays. Certainly not the stuff of design awards, right?
Of course, you could turn off scaling and size everything manually, but that’s like trading your modern plane for an old biplane. It's not ideal when you want a truly responsive button. Enter the magic solution of containers and text elements!
Crafting the Perfect Responsive Button
Here's the inside scoop on how to make buttons that are responsive and elegant, without falling prey to the scaling mishaps.
Step 1: Embrace the Container
Start by adding a container to your design. Think of it as the nurturing pot for your delicate button plant. Inside this container, you'll add a text element. Right-click that text and center it—consider it your button's zen moment.
Step 2: Set Up Advanced Sizing
Navigate over to the text element and embrace the wonders of advanced sizing. Set it to Max content, so your text only grows as much as necessary, and tweak the Min and Max settings to your heart's desire. A max size of 24 and a minimum of 13 could be your Goldilocks numbers—not too big, not too small.
Step 3: Adjust Margins and Design
Expand your design’s finesse by playing with margins like a sculptor chipping away at marble. Maybe try 16 pixels on the sides and 10 up and down. Add a splash of color and rounded corners to style your button. It’s like giving your creation a trendy new outfit—perhaps a vibrant yellow with gently rounded edges.
Step 4: Bring in the Hover Magic
Interaction designs are to buttons what sauce is to pasta—absolutely essential. Choose a hover effect, whip up something custom, and maybe let the color transition to a bold orangish red. Don't forget the cherry on top: change your text color to a striking white.
Step 5: Add the Button
Now, layer a button over your text element. Clear the text and set the advanced sizing to 100% both in width and height for seamless interactions. Ensure it stays centered and remove any pesky background or hover colors. This is where functionality meets fashion.
Step 6: Preview and Adjust
You’re nearing the finish line! Hit preview, hover over your button, and marvel at its responsiveness. Not too small, not too big—it’s just right! If you’re happy with your masterpiece, save it as an asset. Now you’ve got a stylish, responsive button at your disposal across your entire website.
Wrapping It Up
There we go! You've just built a chic, fully-responsive button that will enhance any design you embark on. Sure, it might be a bit of a workaround until Wix adds text scaling, but it's an ingenious method that gets the job done beautifully.
Join Us at NewForm for More Design Adventures
At NewForm, we’re all about honing your design skills, helping you find opportunities in the marketplace, and connecting you with industry leaders. We offer monthly web design challenges with cash prizes, weekly skill-building events, and exclusive monthly guest sessions featuring top professionals in web design. Here, you get to learn directly from the best, access invaluable resources, and build cool things online.
If you’re ready to take your skills to new heights and join a community of like-minded creatives, now’s the time! Without further ado, let’s dive into today’s post—and don’t forget to join NewForm afterward for more amazing opportunities!
Thank you for joining me today on this button-making adventure in Wix Studio. Don’t forget to like and share this knowledge gem, subscribe to my channel, and stay tuned for more fabulous Wix Studio content. As always, happy designing, and I’ll catch you in the next one!


